Sure we could have made separate posts for both the cocktail and the meal, but they played so nicely with each other we couldn't keep them apart. The stir fry and noodles are heavy enough to be filling, but still light enough for a summer dinner that doesn't strike an evening stroll around the neighborhood from the agenda. Meanwhile the margarita is so refreshing it could be drank like water, but as a medical novice I would advise you not to drink it like water, unless you want to reach a Snookie level of drunk.
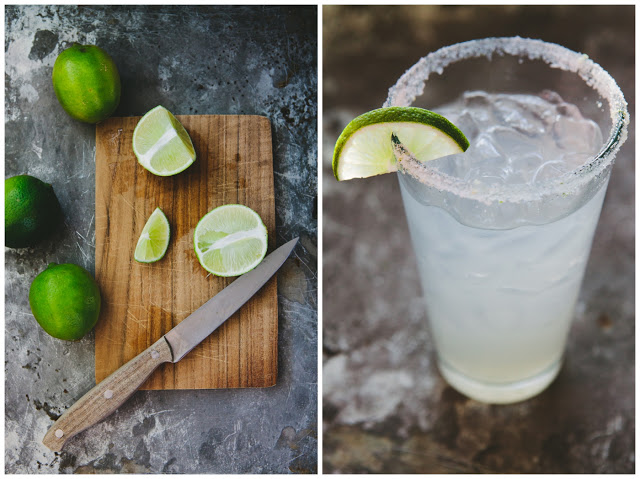
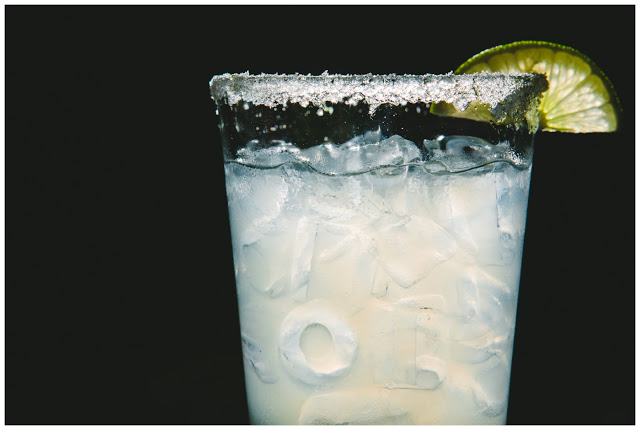
White Whiskey Margarita
Yields 1 drink
- 1 1/2 limes juiced
- 1/2 shot Triple Sec
- 1 shot White Whiskey
- 1 cup Ice
For the rim:
- 1/4 cup sugar
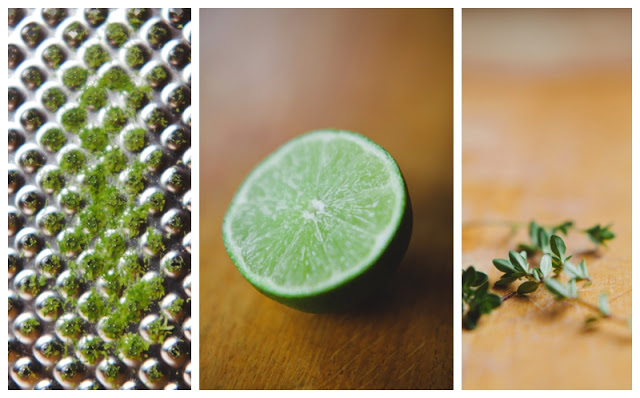
- zest of 1 lime
- Pour the lime juice, triple sec, whiskey into a pint glass. Add the ice to the glass. If you don’t have a shaker I recommend using a red Solo cup as a lid, and not just because it’s classy. This technique works so well I’m expecting my future offsprings to pass this down for many generations to come. Shake, don't stir.
- Use the squeezed lime to rim the glass with the juice. On a small plate mix the zest and the sugar together with your fingers to infuse the grains of cane with the sent of lime. Dip the wet edged glass into the sugar mixture.
- Pour the contents of the drink into the sugar rimmed cup.
- Drink and be surprised how refreshing this drink is on a sticky summer evening.


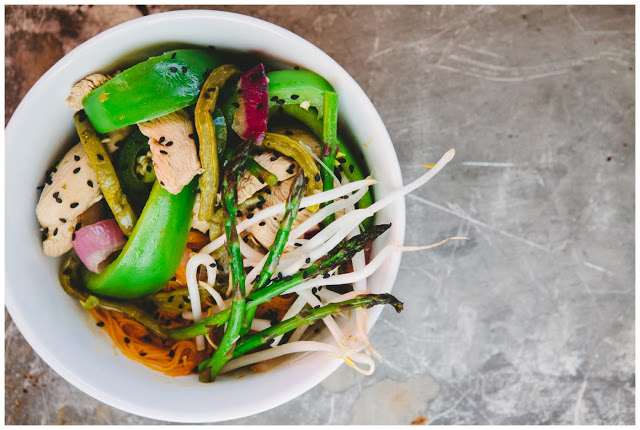
Cactus Stir Fry w/ Curry Rice Noodles
Yields 3 servings (4 if you’re not that hungry)
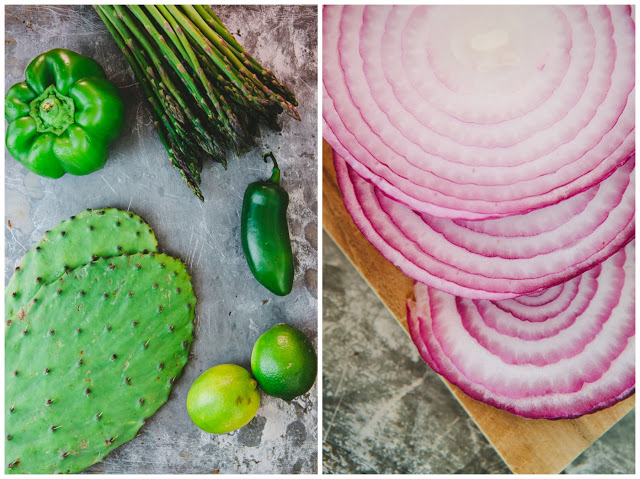
- 2 Cactus paddles julienned
- 2 large Chicken Breasts cut into strips
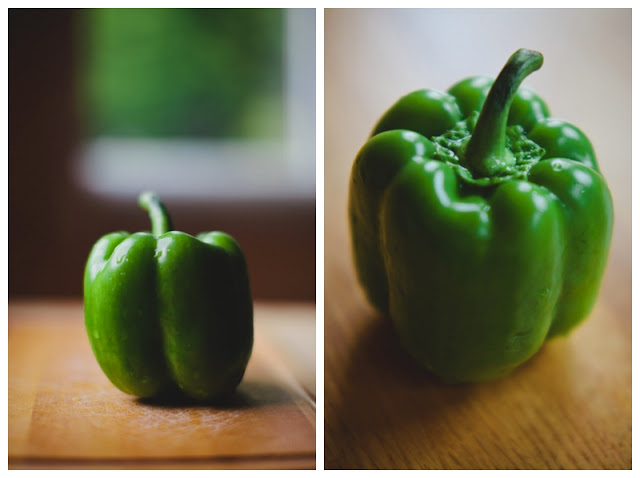
- 1 Green Bell Pepper julienned
- 1 Jalapeño sliced
- 1/2 Red Onion julienned
- 1 Tablespoon Garlic minced
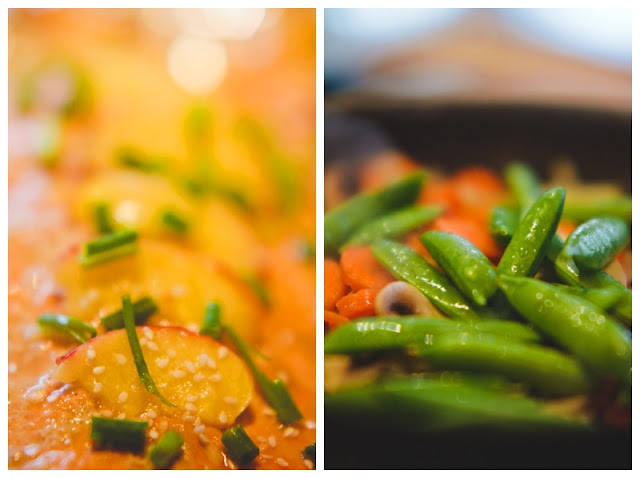
- Bean Sprouts
- Olive Oil
- Black Sesame seeds (optional)
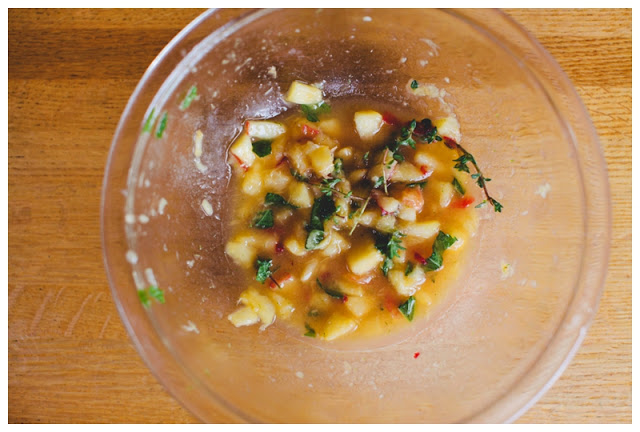
Chicken Marinade
- Splash of triple sec
- 1 Lime juiced and zested
- 1/2 teaspoon Garlic salt
- 1 1/2 tablespoon Soy sauce
- 1 tablespoon Garlic minced
- Find a medium sized mixing bowl, a tupperware bowl or even an empty Cool-Whip container and add the chicken and the marinade. Make sure everything is well mixed in the container. Allow the chicken to absorb the flavors of the infused concoction while the rest of the meal is prepared.
- Get your medium sized skillet to sauté the cactus. If you need a tutorial on cutting cactus, Pati's Mexican Table has a fine how-to. Pour 1/2 tablespoon of the olive oil in the skillet and cook over medium heat. Do that thing with the skillet to flip them and add a pinch of salt. Cook until the gel oozing from the strips stops. Set aside and take off heat.
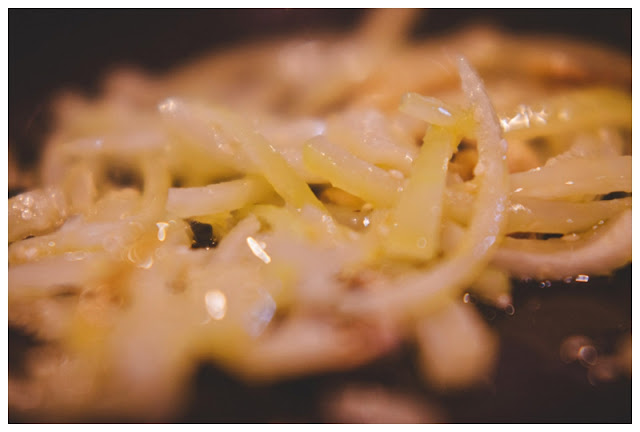
- Saute the chicken and 1/4 of the onions over medium heat in a skillet until the chicken looks done, about 7 minutes or so. Take off heat. Find a saucier, put it over medium heat, add 1/2 teaspoon olive oil and all of your vegetables, except for the bean sprouts. Cook for 3 minutes then add the chicken and cactus. Stir and mix all the contents well. Drain any excess liquid and continue cooking for another 5 minutes.
Curry Rice Noodles
- 1 can Coconut Milk opened
- 1 1/2 tablespoons Red Curry Paste
- 1/4 teaspoon Fish Sauce
- 1 Tablespoon Brown Sugar
- 4 oz. Thin Rice Noodles
- 1/4 cup Water
- Add all the ingredients above except for the noodles in a sauce pan and heat over medium high until it reaches a boil. Add the noodels as best you can and cook in the sauce until they become soft and have all the characteristics of cooked noodles.
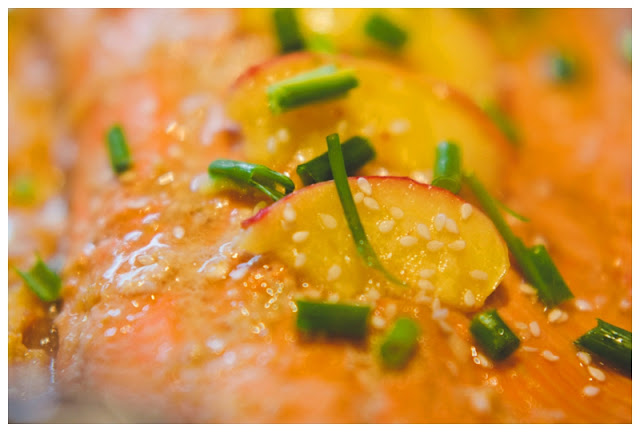
- To plate the dish place the noodles in the bottom of a bowl or you can even use a plate with a nice bevel to it. Then top with the stir fried chicken, cactus and vegetables. If you're feeling fancy you can even add bean sprouts and black sesame seeds on top of the dish.


What are you waiting for? Go out to your local farmer's market and pick up anything that catches your eye, and make a stir fry out of it. Summer is for fun and adventurous, venture out into the world and see what it has to offer besides the status quo. Enjoy!
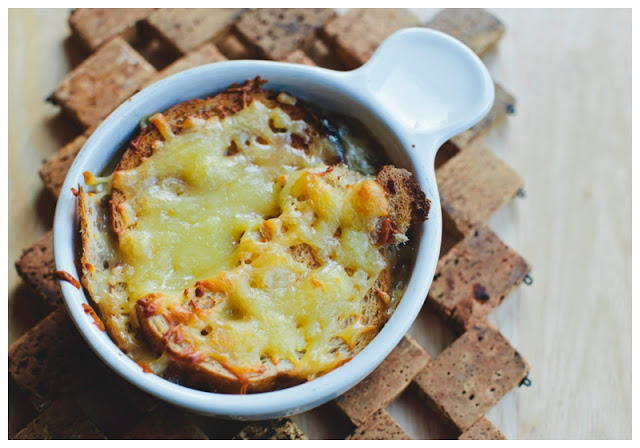
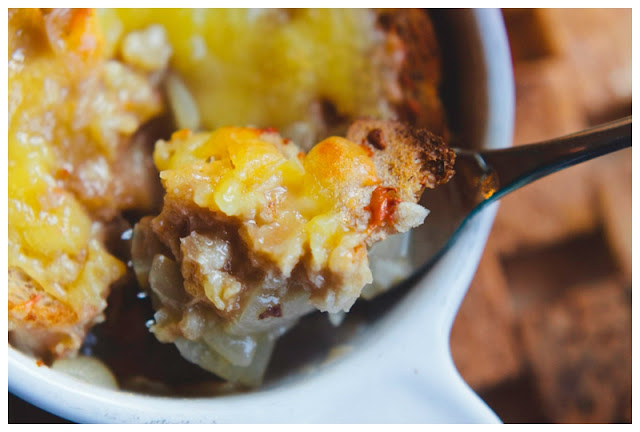
Once again Katy Weaver has outdone herself with these stunning photos.