

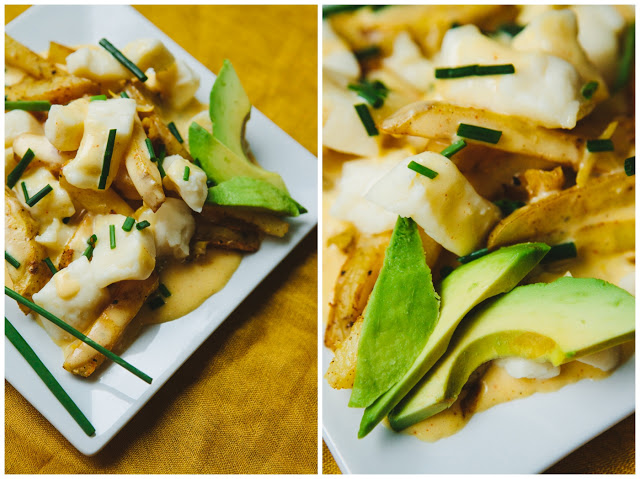
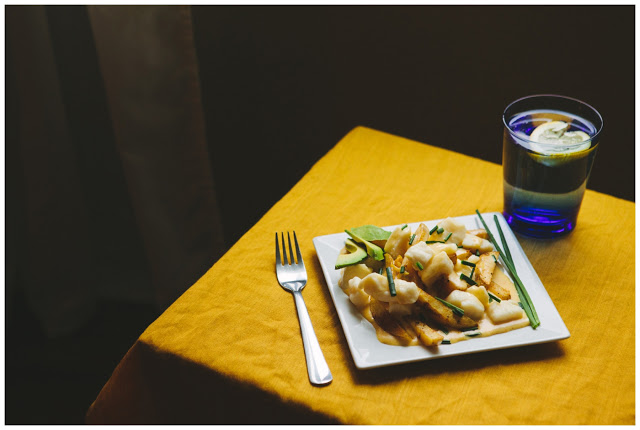
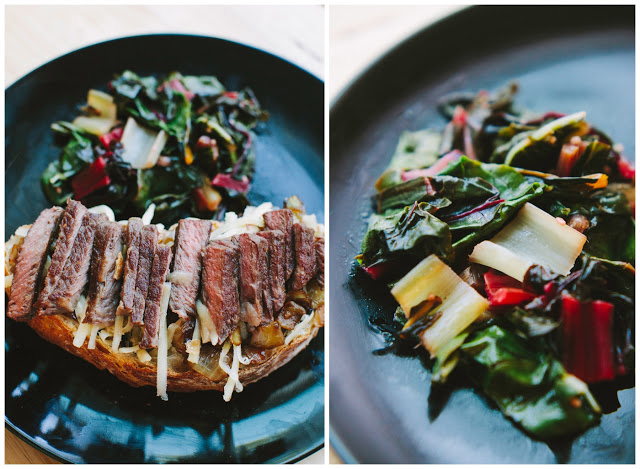
Over Memorial Day weekend I went to Sasquatch! music festival up in Washington, and met a nice fella from Calgary, Alberta. We proceeded to discuss beer and food. He being from Canada, of course the unofficial Canadian national dish of poutine came up. For those of you who have never had poutine, it's a glorious dish of fries, gravy and cheese curds. Naturally I went with a breakfast version of this pile of cholesterol.
 Before I really get into this post I want to make some mentions. As always Katy Weaver has outdone herself with these photos, I guess I'll keep her around. I really wanted channel my inner pretentious hipster though, and mention some of the great bands I saw at Sasquatch! My advice is that you should take a listen to Shovels & Rope, Deep Sea Diver, and Suuns. I also wanted to give a shout out to Terry from Calgary for giving me this recipe idea.

Breakfast Poutine
Yields three servings- Fries from recipe below
- Hollandaise Sauce from recipe below
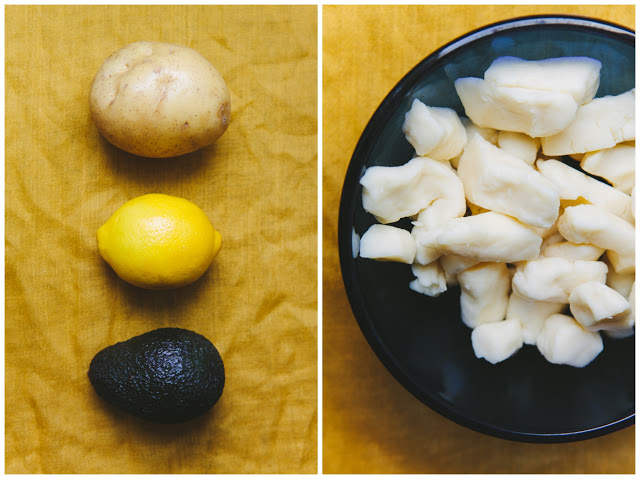
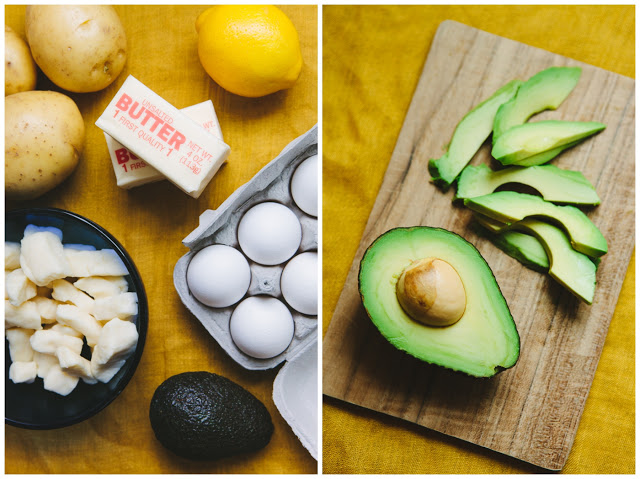
- 1 lbs Cheese Curds
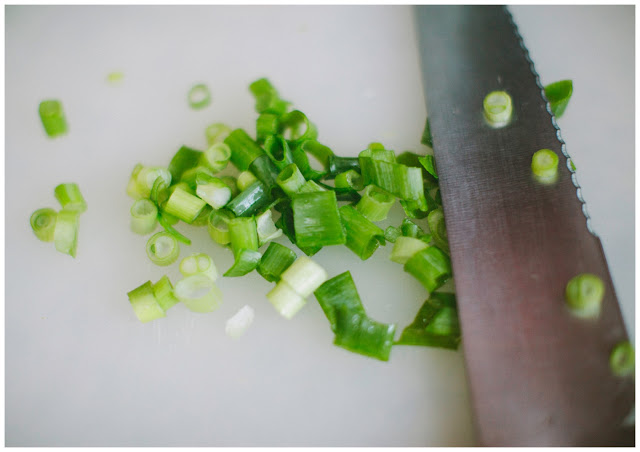
- 1/4 cup chopped Chives
- 1 Avocado sliced
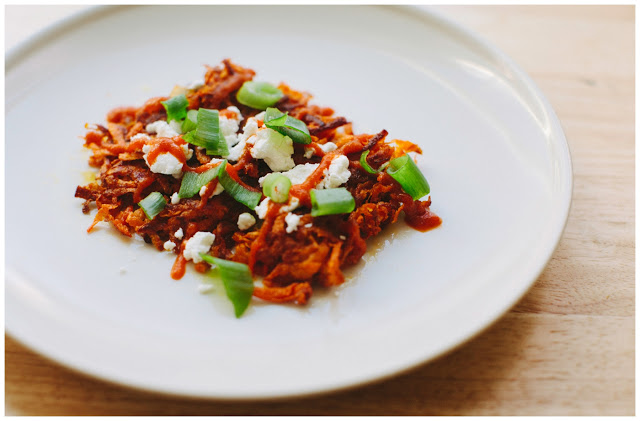
- Plate the fries (recipe below) and top with hollandaise sauce (your guess is as good as mine when finding this recipe) and cheese curds. Garnish with chives and avocado, or just pile on the avocado, I'm not judging.
Oven Baked Fries
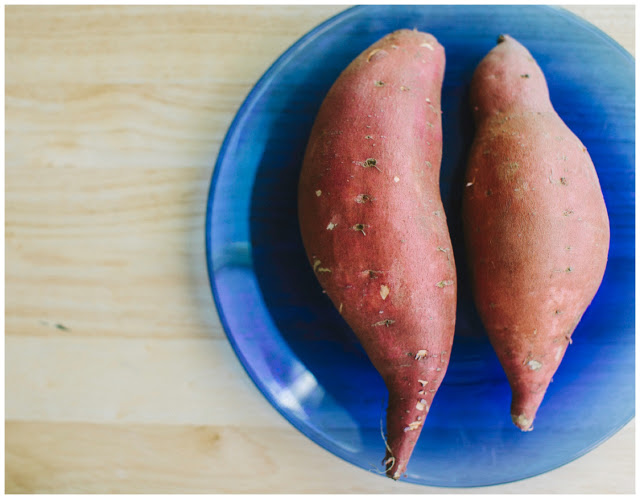
Yields three servings- 5 medium sized Golden Potatoes batonneted
- 2.5 table spoons Olive Oil
- 1/4 teaspoon of each Salt and Pepper
- 1/4 teaspoon of Garlic Salt
- 1/4 teaspoon Paprika
- Use a mandolin (this kind, not this kind, but if you do use the musical instrument let me know how it works) to cut the potatoes into slices, then use a knife to batonnet them.
- Once cut let the potatoes soak in a bowl of water for 5-10 minutes, this process removes some of the starch from the potatoes and makes them crispier once cooked. Preheat the oven to 375.
- Drain the water from the bowl, then toss the potatoes in olive oil. Place the fries on a cooking sheet and season.
- Cook for 10 minutes then use a spatula to flip the tubers. Cook for another 10 minutes or until golden brown.
Hollandaise Sauce
Devotees of this blog, all three of you, and yes that includes my mom, will remember that I have made several hollandaise sauces, this one, and this one with avocado. For this particular dish I went with the basic one with a little extra cayenne pepper, just for that extra kick!
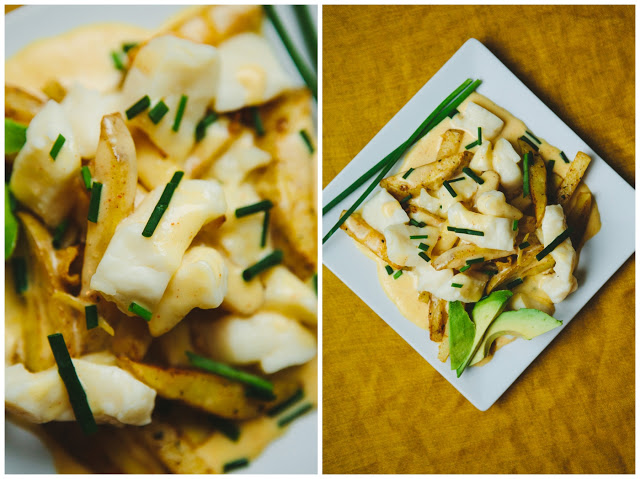
If you're wondering if it tastes as good as it looks the answer is yes. A warning to the elderly, the pregnant or anyone with heart or back problems, this is a very rich dish and should be consumed at your own caution. On that note, enjoy!
If you're wondering if it tastes as good as it looks the answer is yes. A warning to the elderly, the pregnant or anyone with heart or back problems, this is a very rich dish and should be consumed at your own caution. On that note, enjoy!


