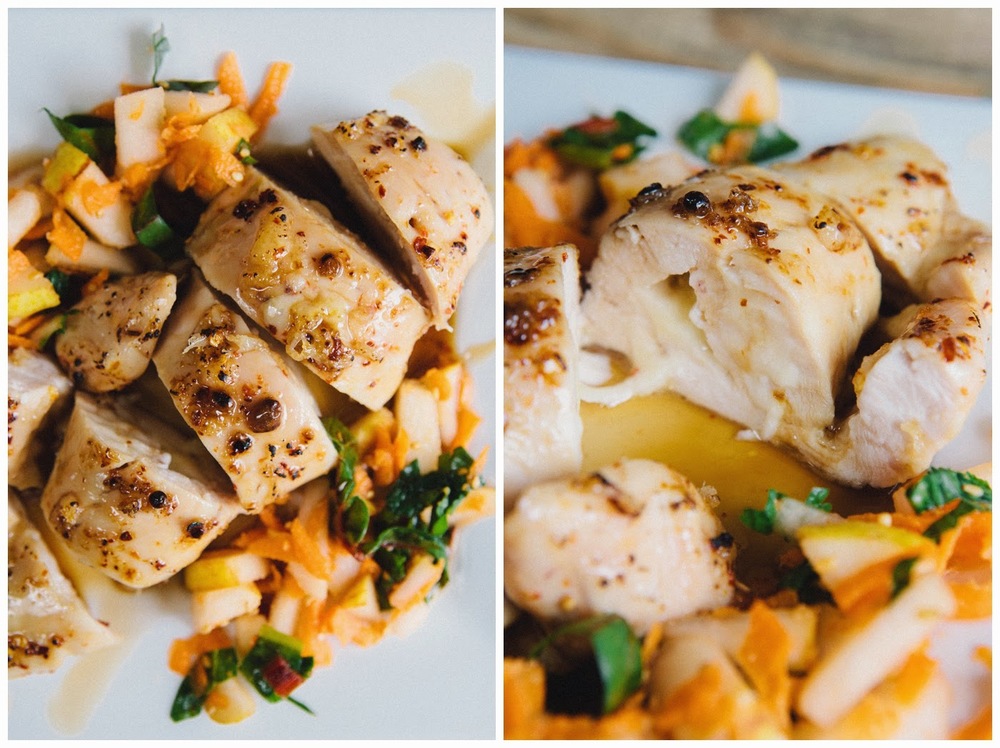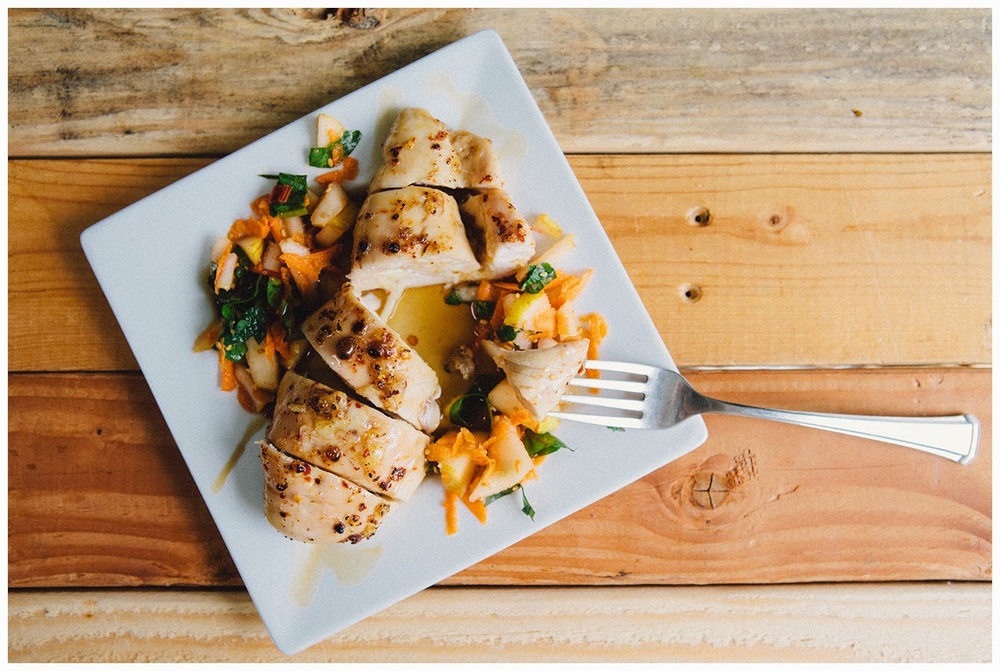
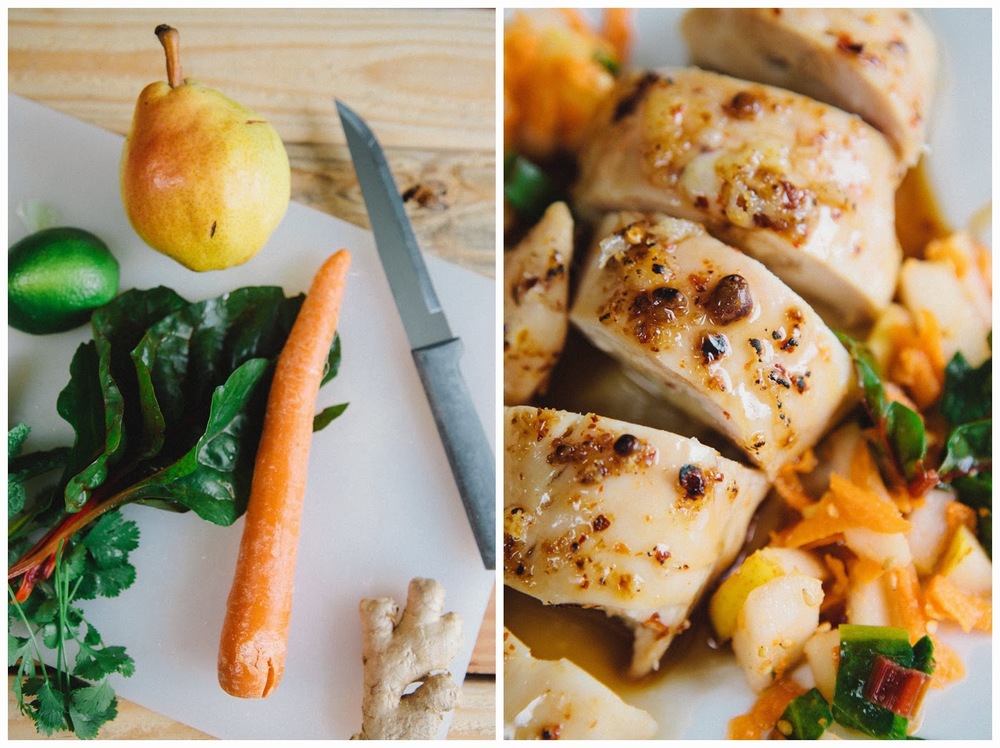
The thing about Asian fusion is that as soon as lime juice and ginger comes into play it turns any dish into Asian fusion. I didn't set out to make this Spicy Maple Gruyere Stuffed Chicken Breast an Asian fusion dish, but I needed something to contrast the sweet chicken. An acidic slaw seemed like the obvious counterpart, and I happened to have lime and ginger. Next thing you know a delicious pear and ginger slaw appeared. Okay, it did take a little work, but every part seemed to work beautifully together just like a 90's boy band. I recommend making this dish if you like delicious food and want a little bit of a challenge.

Spicy Maple Gruyere Stuffed Chicken Breasts
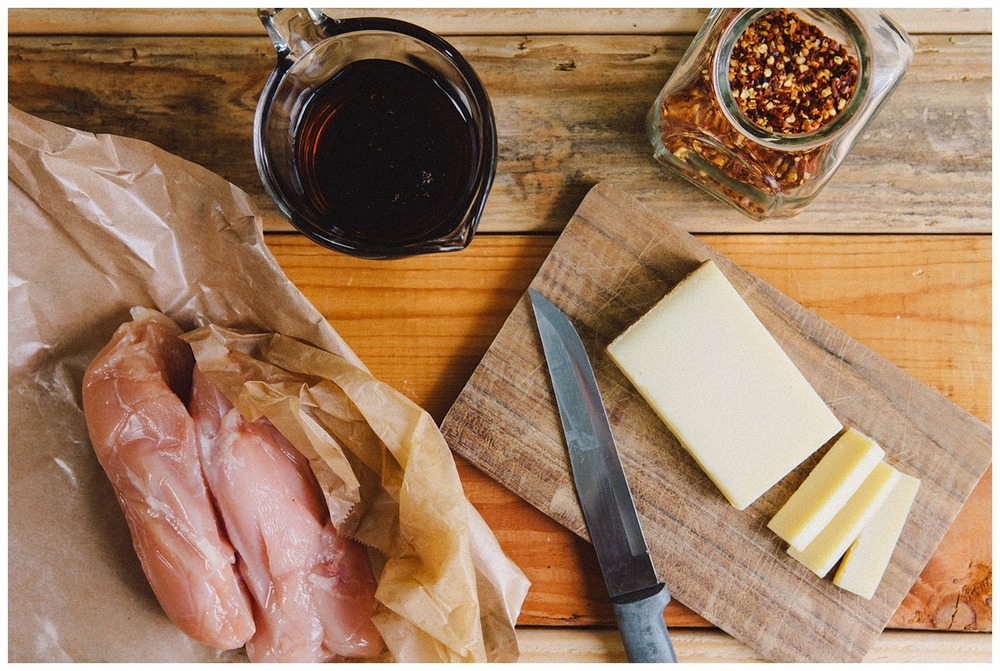
- 2 Chicken Breasts
- 4 oz. Gruyere sliced thinly
- 1/2 cup Maple Syrup
- 1 teaspoon Red Pepper Flakes
- 1/2 teaspoon Olive Oil
- Pinch of Sea Salt
- 6 Toothpicks
- Preheat the oven to 375°.
- Tear off about 3' of plastic wrap and lay it on a clean countertop.
- Take your chicken breast and lay them out as flat as possible on the plastic wrap. Using the sharpest knife you have cut the breast so it becomes as flat as possible. To do this, make cuts vertically perpendicular to the connective tissue. Do not cut all the way through the breast! Be sure the skin is still in tact.
- Place the slices of gruyere in the chicken breast. Roll the chicken up like it's a sushi roll. Make sure the meat is nice and tight and stick three toothpicks in each breast. These will ensure the chicken stays in tact throughout the cooking process.
- After each breast is prepped. Place the breasts in a cooking vessel, most likely a small casserole pan. Drizzle the olive oil on top of each breast. Sprinkle the salt on. Then drench it in the maple syrup. Split the red pepper flakes between the two breasts.
- Place in the oven for 25 minutes. Every 5 minutes scoop the excess syrup in the pan and drizzle over the breasts. Once the inside of the breasts have reached a temperature of 165° take out of the oven and serve with the Pear & Ginger Slaw.
- Enjoy!

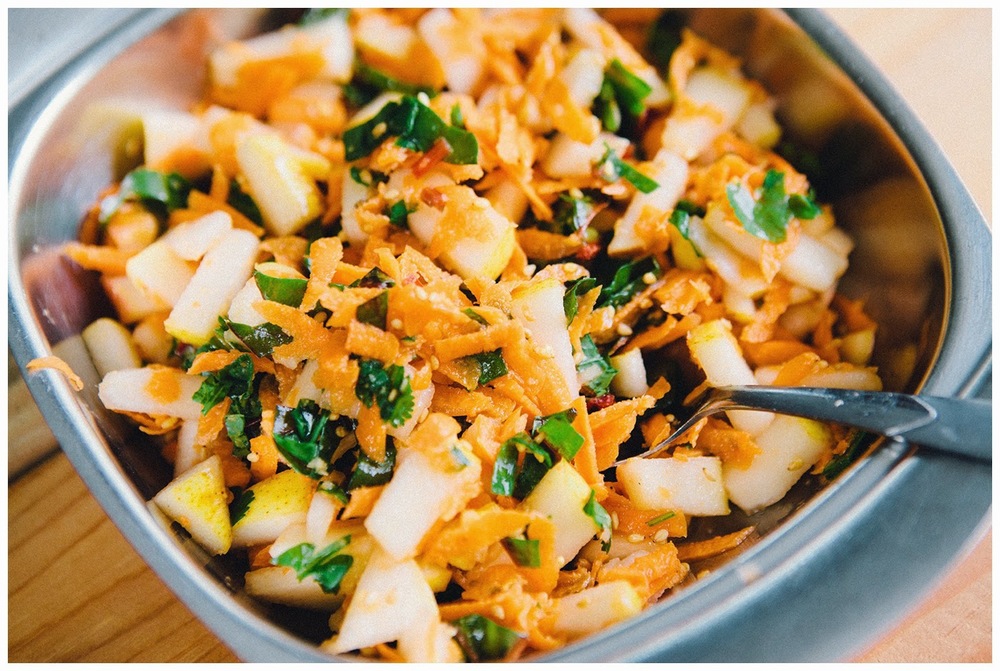
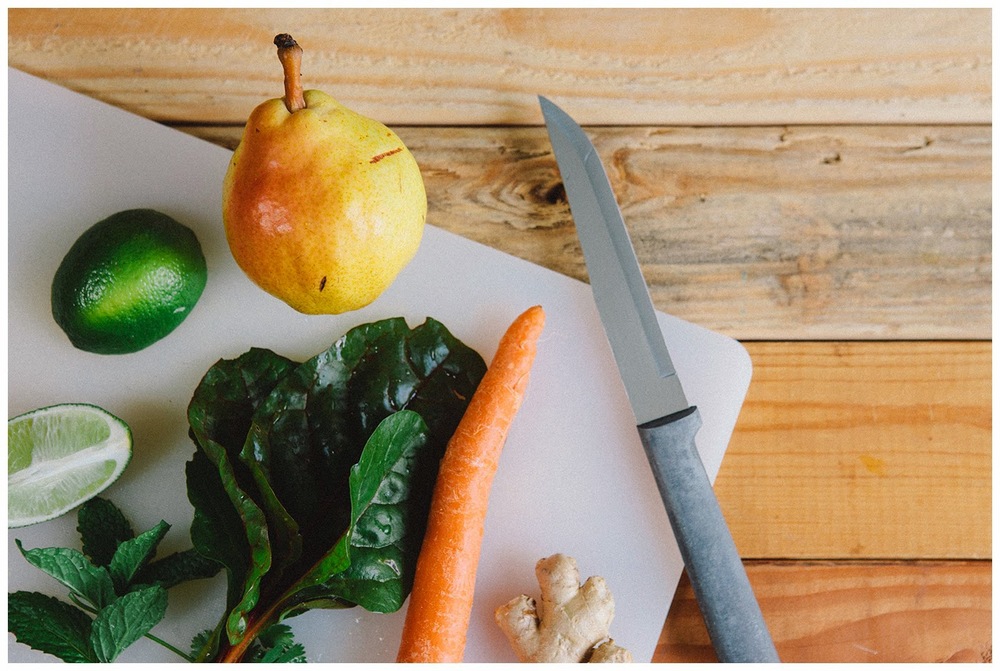
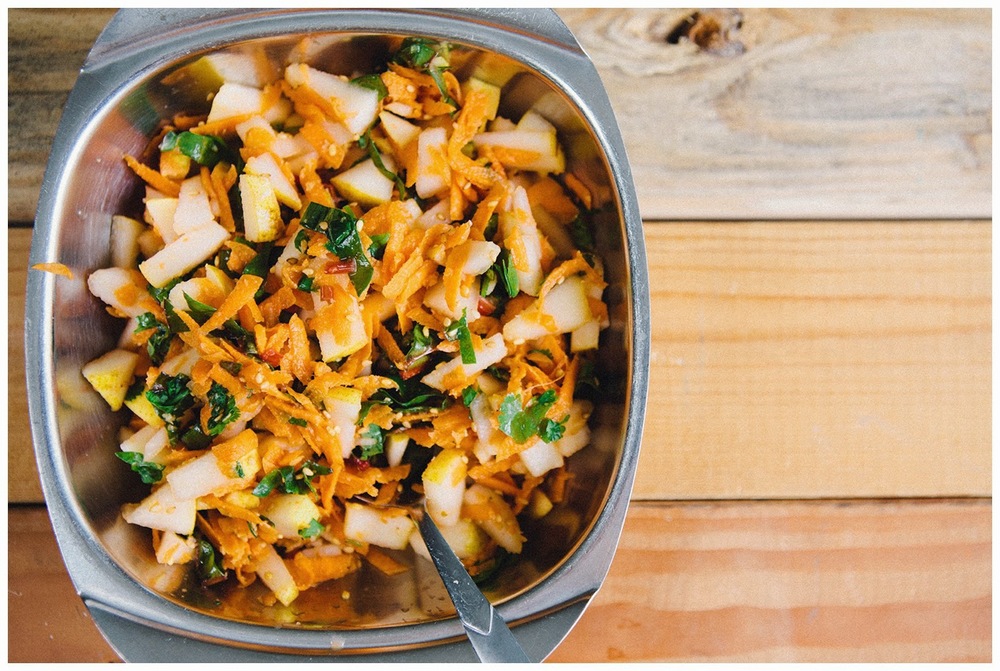
Pear & Ginger Slaw
- 1 Pear diced
- 1 Carrot grated
- 1 tablespoon Fresh Ginger grated
- 1 tablespoon Lime Juice
- 5 Baby Rainbow Chard Leaves cheffinated
- 4 leaves of Mint cheffinated
- 6 leaves Cilantro cheffinated
- 1 1/2 tablespoon Rice Wine Vinegar
- 1 tablespoon Sesame Seeds
- 1 tablespoon Sugar
- Toss everything together in a large mixing bowl and let sit for at least 30 minutes.
- Yup that's it.